Tool Chain
We use a combination of Visual Studio Code and Git to learn two basic tools that are widely used in the industry. Especially Git is an important tool when a Designer is involved in software development. Git is hard to wrap ones head around when one never worked with a version control system before. It is nevertheless an essential tool, when it comes to working in a team with software engineers and can also be a very useful companion when working with files in general.
Setup - Short Version
Tools
- Install git https://git-scm.com/downloads
- Configure git (
git config user.name "your name"andgit config user.email "your HfG mail") in your terminal - Install Visual Studio Code https://code.visualstudio.com/
- Install p5js.vscode extension
Code and Share
- Create p5.js project with cmd+shift+p (Mac) or ctrl+shift+p (Windows) in VS Code
- Create account at our gitea instance
- Create repository
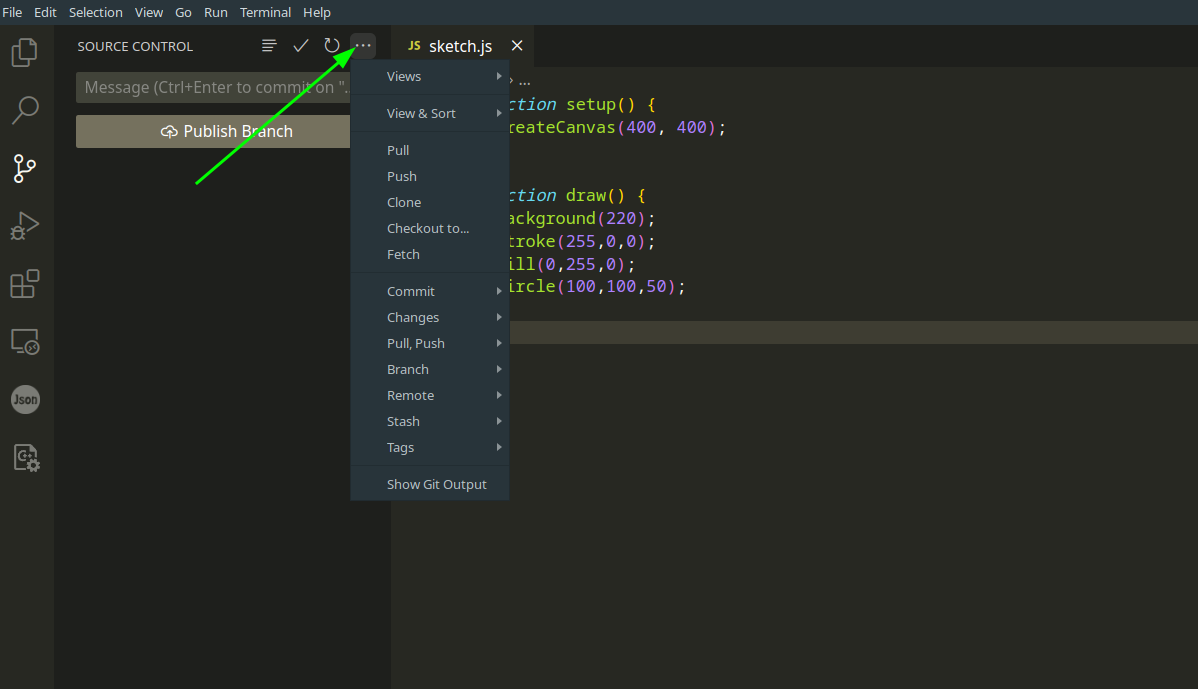
- Add remote to your p5.js project in VS Code (Source Control)
- Stage changes, commit and sync (push) to remote
Your code is now in our gitea instance.
Setup - Detailed Version
Command Line Basics
Please have a look at this guide (but ignore the part about scripts "Our first script" for now): https://www.freecodecamp.org/news/command-line-for-beginners/
Git
Windows
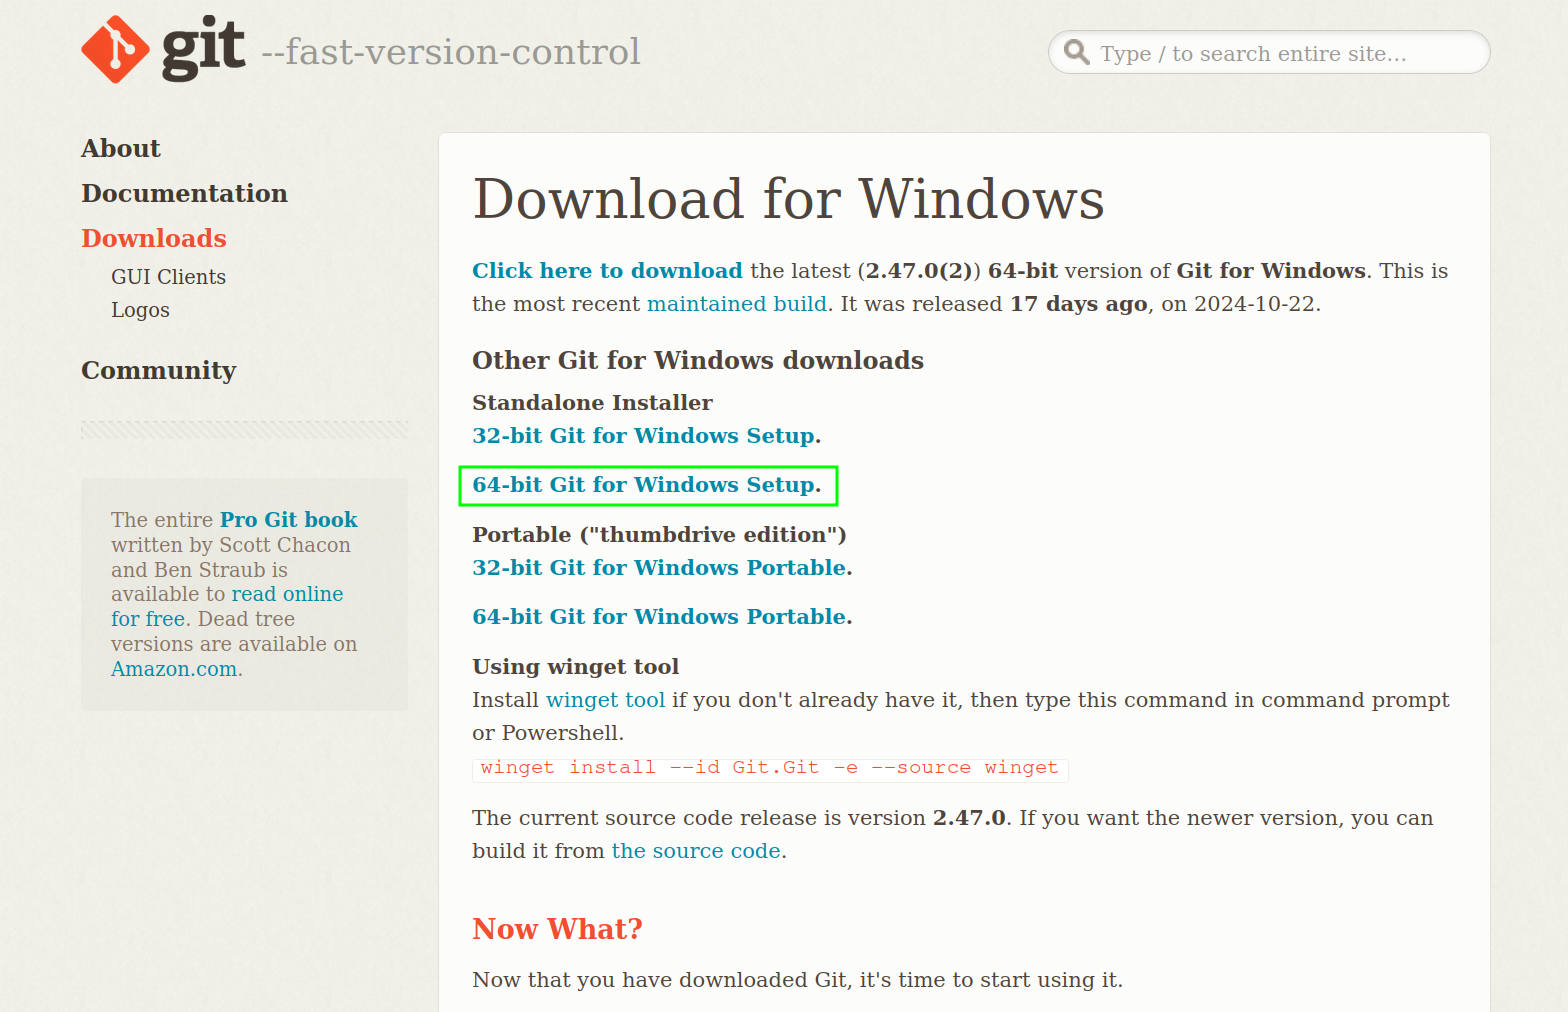
- Go to https://git-scm.com/downloads and download Git for Windows.
-
Install like any regular program.
-
Continue with Git Config
Mac
Before we can install git, we have to install brew.
-
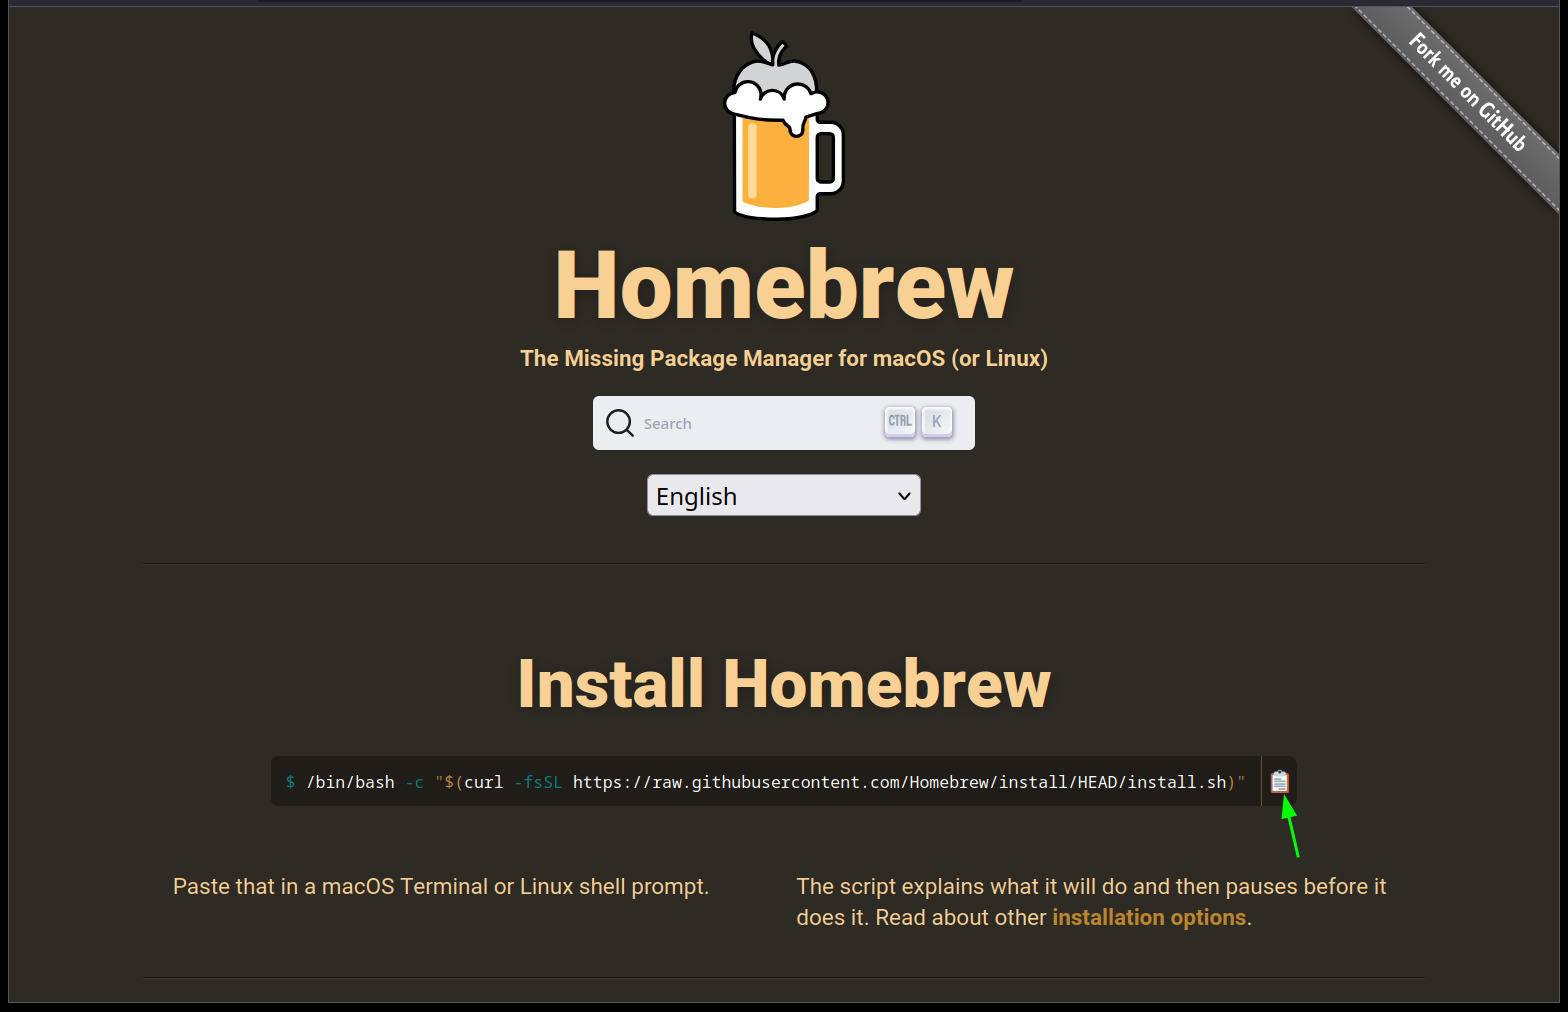
Go to https://brew.sh and hit the copy button.
-
Open your terminal application (https://www.idownloadblog.com/2019/04/19/ways-open-terminal-mac/)
-
Paste the command into the terminal (Cmd+V)
-
Hit Return (Enter)
- Things happen, wait until finished
-
Brew shows you two commands to run after the installation is finished
They look something like this:
-
Mark the first line in your terminal with the mouse

-
Hit Cmd-C
- Hit Cmd-V - the command should be in your terminal
- Hit Return
- Repeat for the second command
- Quit terminal
- Open terminal again
- Enter
brewand see what happens -
If it does not say something like "command not found" but instead spits out some text, it works
Almost done!
-
Type into your terminal the following and hit return.
It should say either something like "already installed" or it will install it.
-
Quit terminal again
- Start terminal again
- Type
gitand see what happens

If that worked the next step is to configure your name and your email.
Git Config
- Open Terminal
- If you are on Windows, open
Git Bashfrom your Start Menu. - If you are on Mac OS, open Terminal from Spotlight, or from your Applications folder.
- If you are on Windows, open
- Type the following into your terminal and hit return.

Visual Studio Code
Installation
-
Go to https://code.visualstudio.com/ and hit download

-
Install the thing
P5.js Extension
Once installed, it is time to install the p5.js extension.
-
Open the extension manager on the left side

-
Install
p5.vscode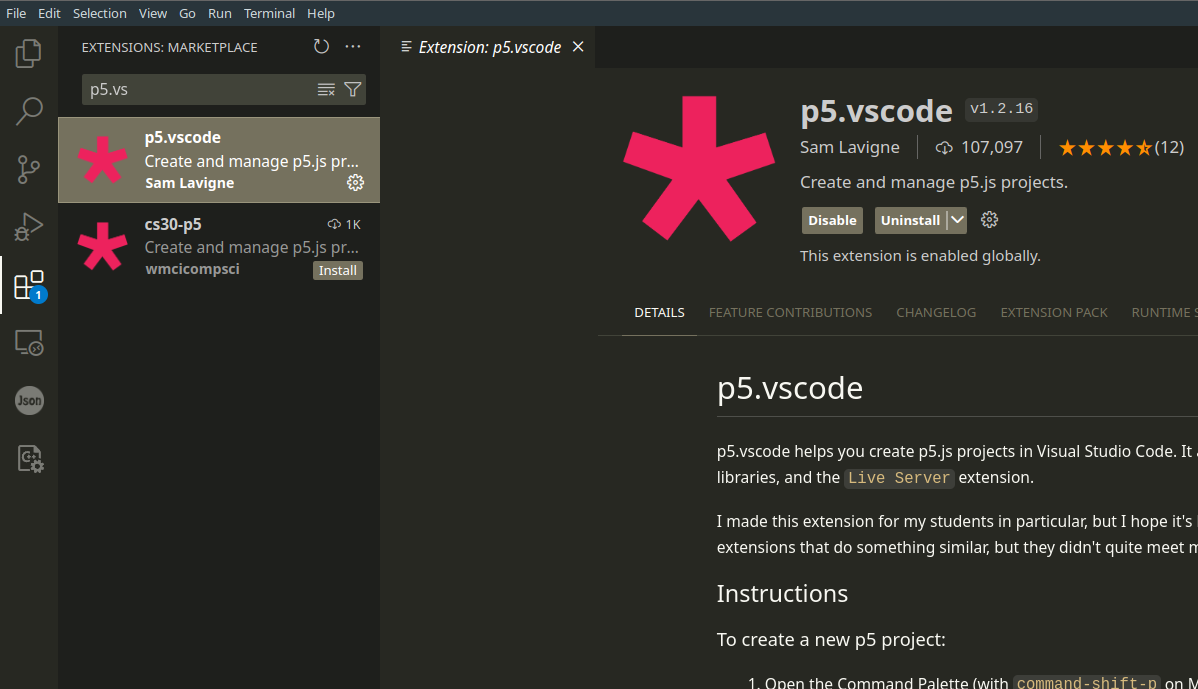
Create p5.js Project
- In Visual Studio Code hit
Ctrl+Shift+PorCmd+Shift+P - Enter
create - The first item should say "Create p5.js project"
- Hit Return
- Choose folder where your project should be created
Share Code with Git
Create Repository
Once your project is created, you can upload it to our git server.
- Register an account at our gitea instance Gitea
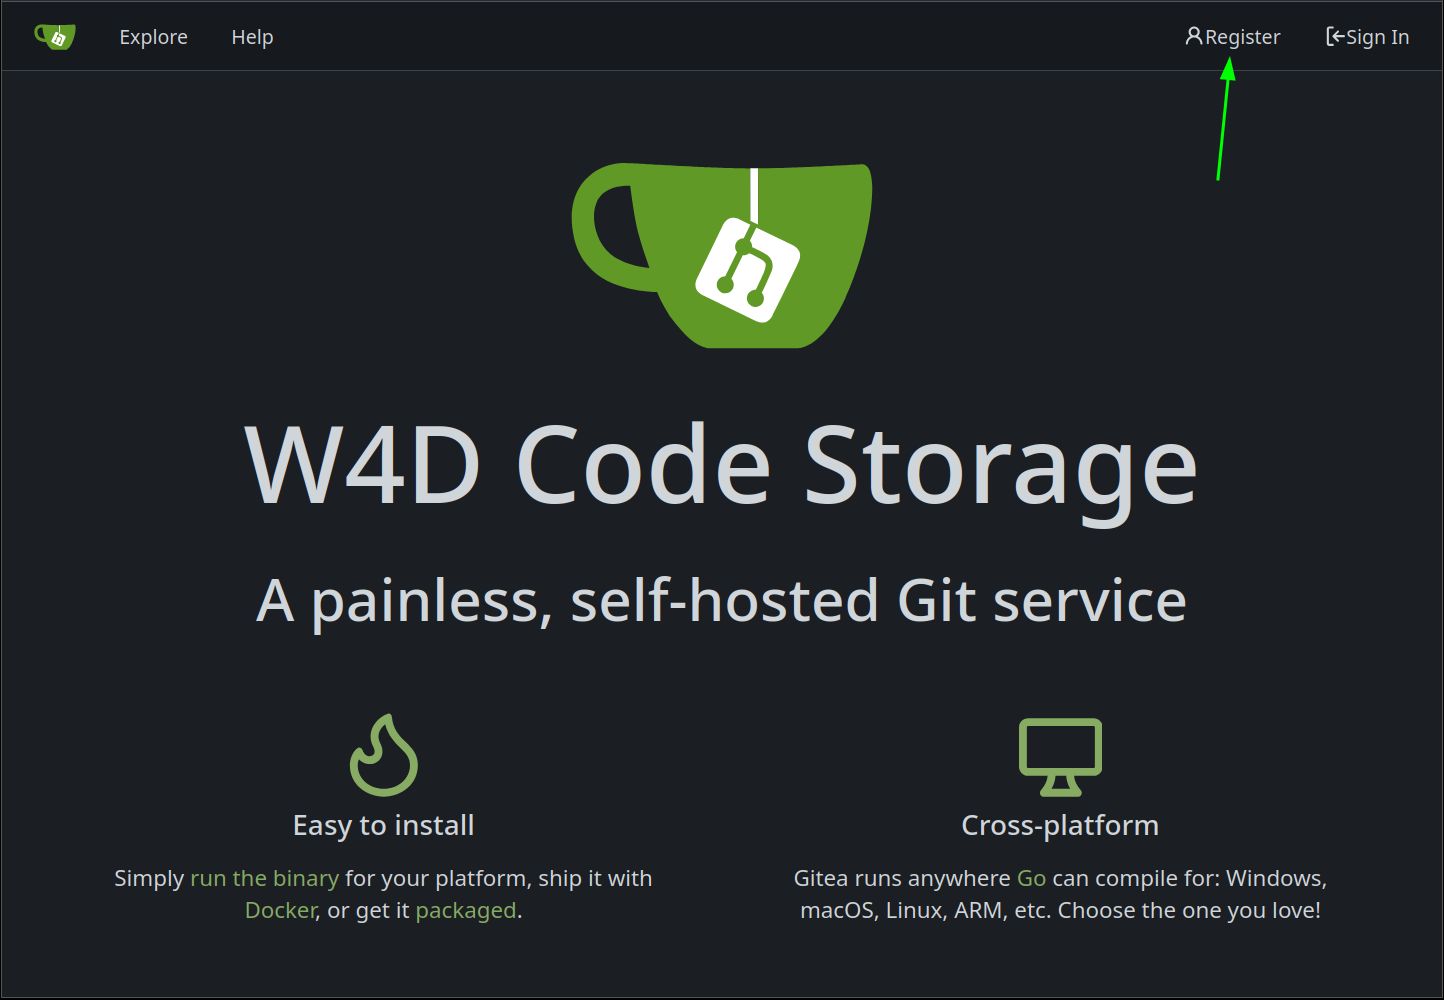
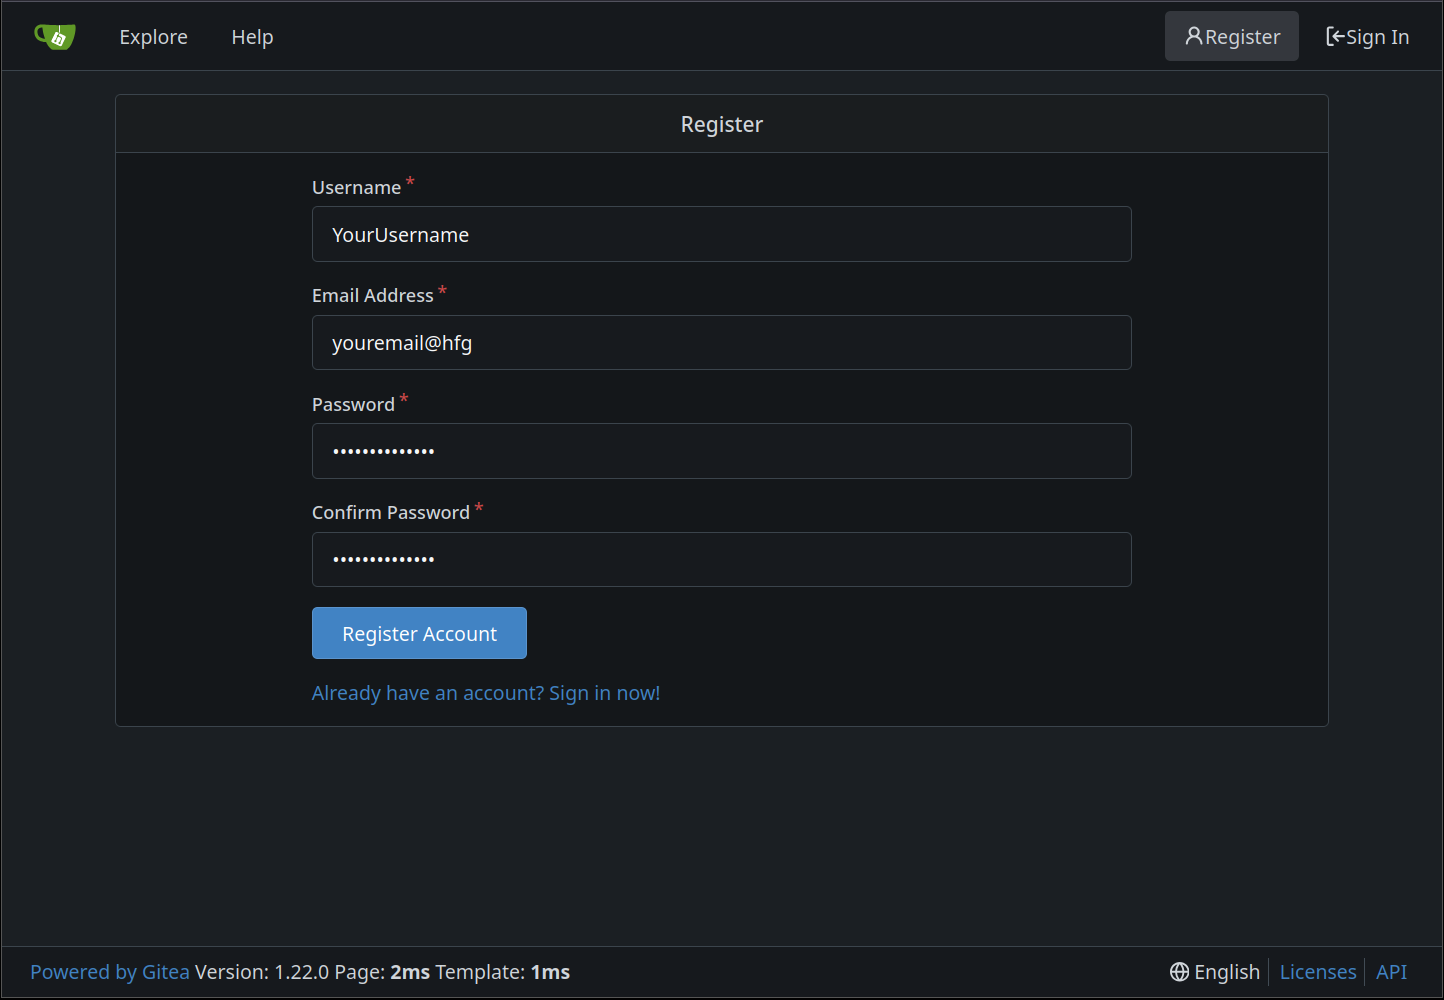
- Create a new repository (Owner is you, or DesignCoding1 if you have been added to the Organization). If you see only your username, that's ok, we can change it later. Give your repository a short but descriptive name. Everything else can stay at default values.


Add Repository Url to P5.js Project
When you want to share code remotely, you need to know the Url.
- Copy the repository's remote url (use the HTTPS url, not the SSH url as shown in the image)
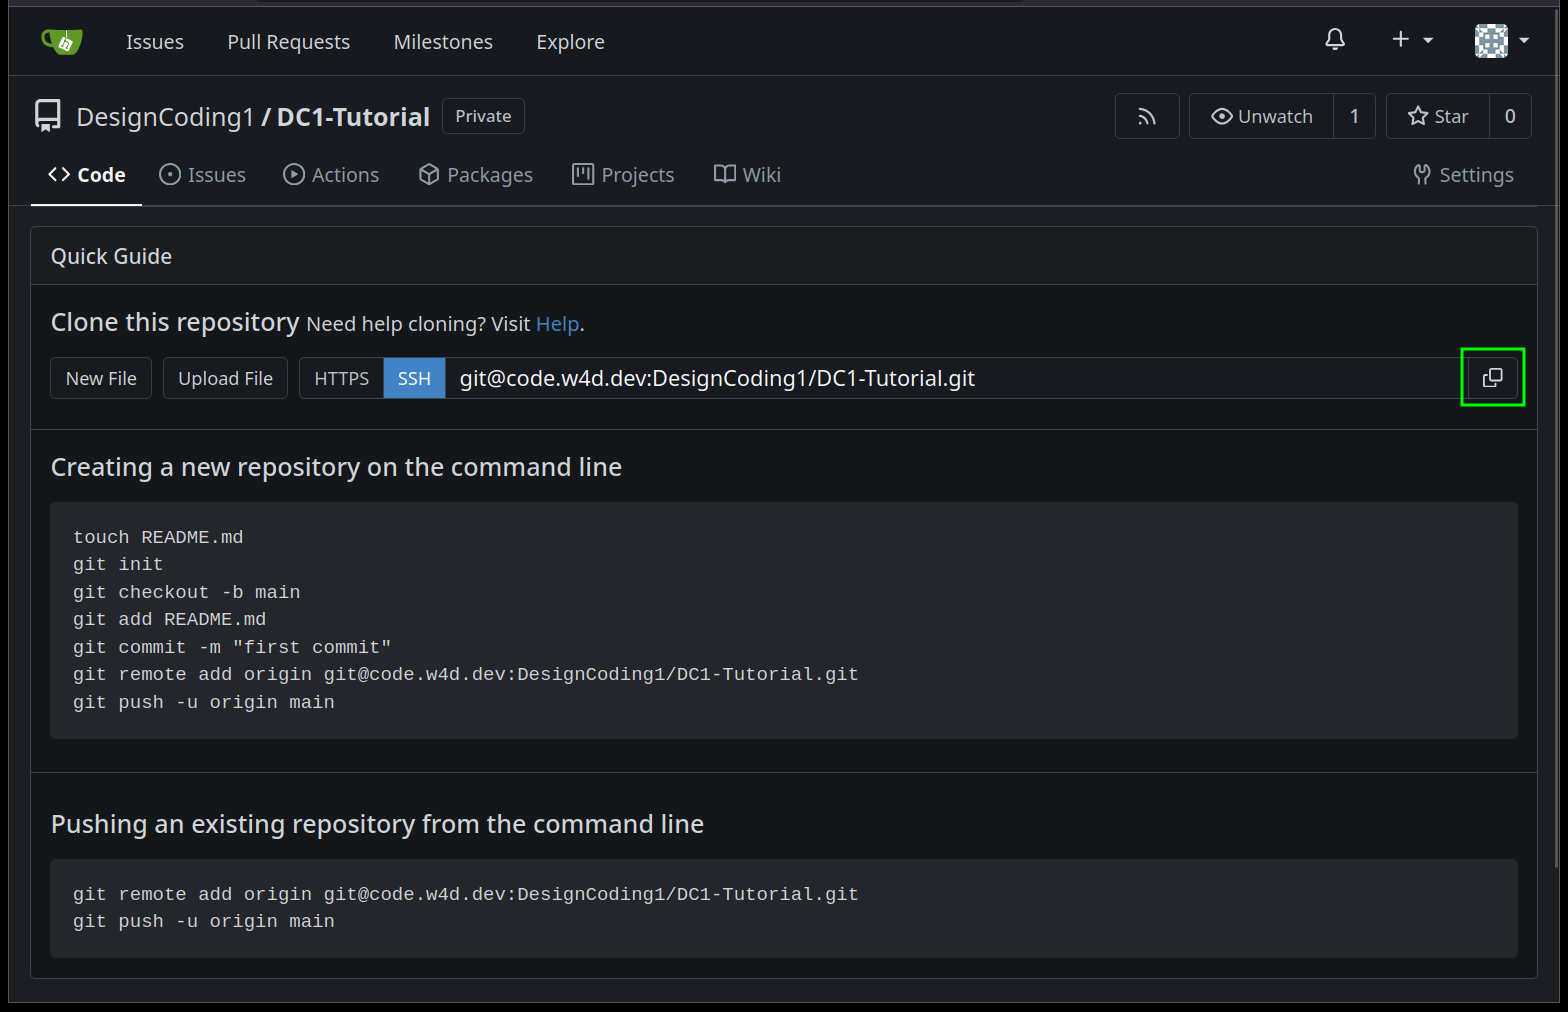
- Paste remote url in Visual Sudio code (Ctrl+V, or Cmd+V on a mac)

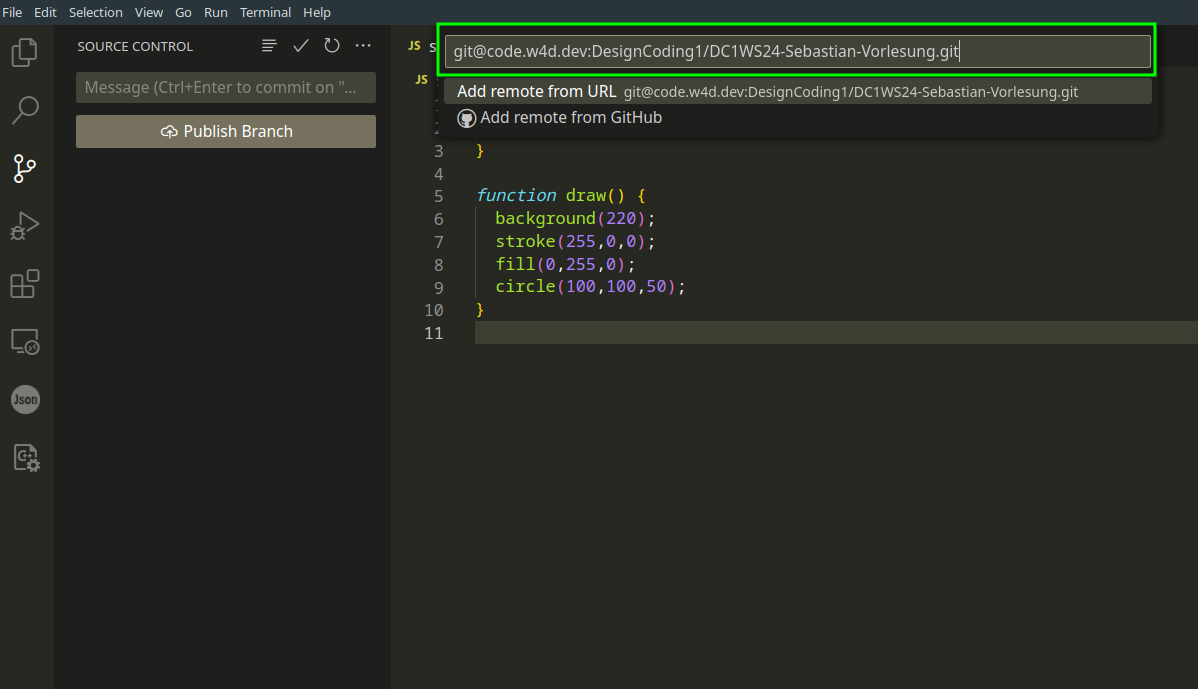
- Press Return - another input opens with "Name"
- Enter "origin"
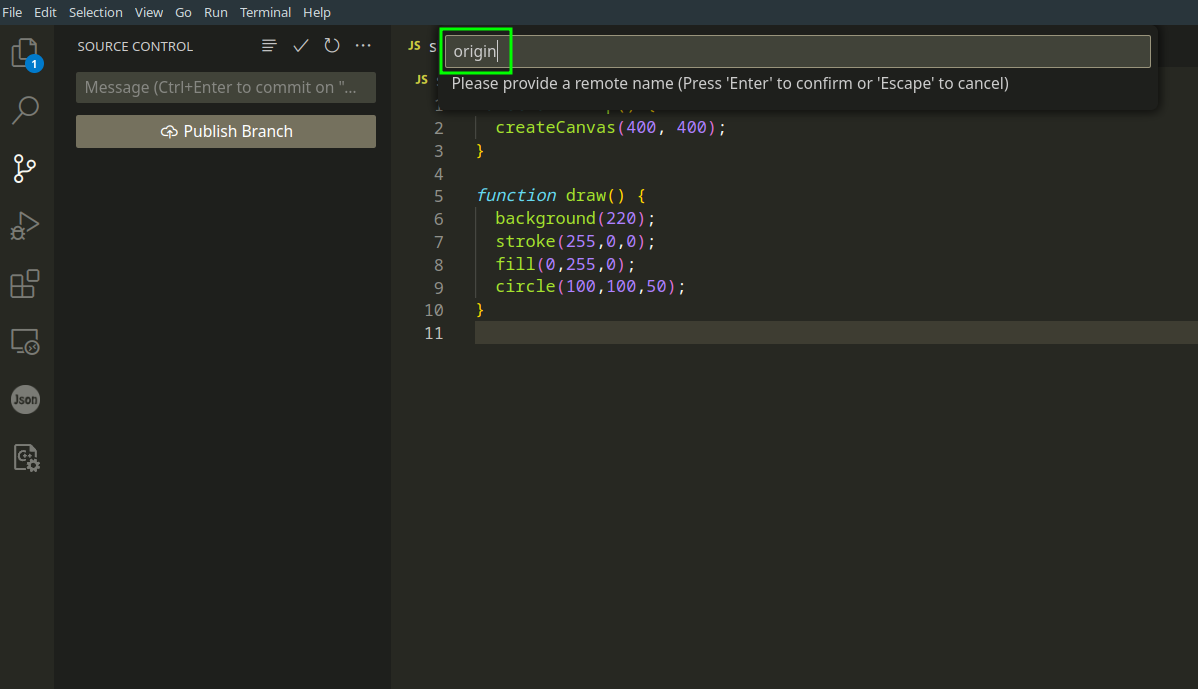
- Press Return - Remote is added, you are ready to add, stage, commit and push your changes
Stage, Commit, Push
To push code to a remote repository, you have to add changes, enter a commit message (very important in VSCode) and then push the changes to the remote.
- Stage or add your changes
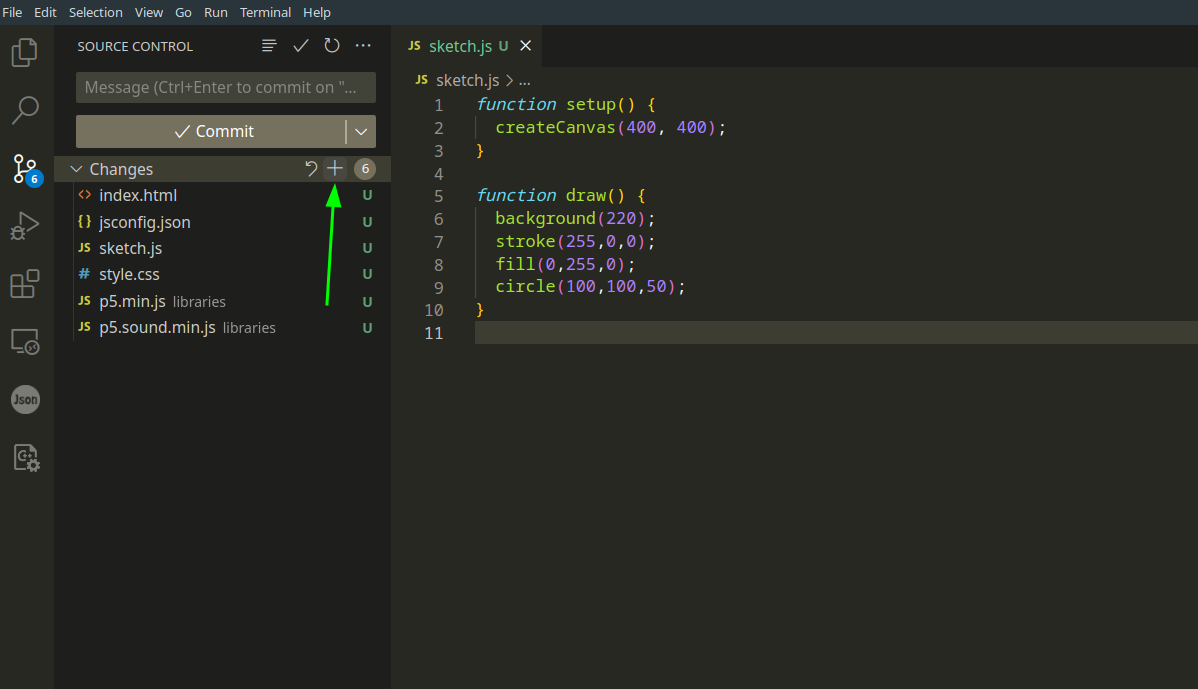
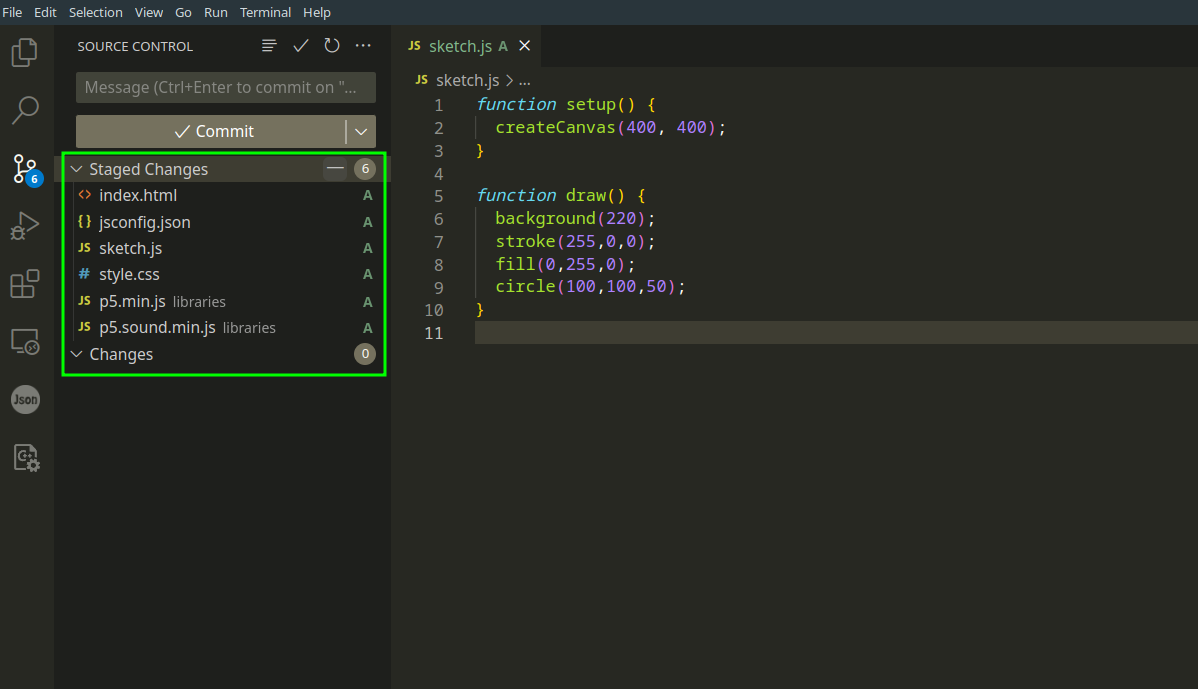
- Enter a commit message (important!)
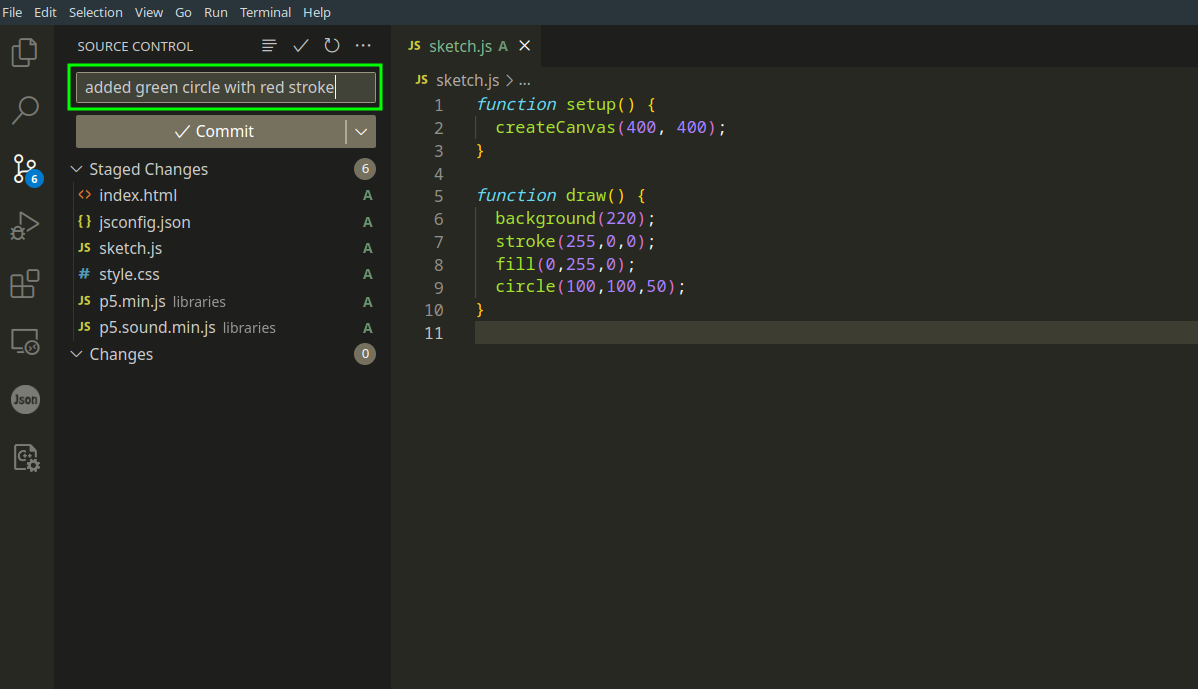
- Hit "Commit" - VSCode will add a commit to your git history
- Hit Publish or Sync (Publish for the first push, Sync for all thereafter)

Sync
The Publish button changes its name to Sync, when you did your first push to the remote. The Sync button does more than push, it also pulls changes that were done on another computer for example from the remote to your local repository.
Workflow from here on
- Make changes (code, add assets...)
- Stage changes
- Commit (with message!)
- Sync
- Back to 1